Is a visual 3D result enough to accept a digital twin?
No. Operations projects also need correct links among points, live data, alarms, video, permissions and response workflows.
Summary: Digital twin acceptance cannot stop at “the model opens and the page displays.” Check scope, model fidelity, scene interaction, device points, refresh, alarms and video, performance, permissions, deployment and handover. Weight the checks differently for presentation and operations projects.
Acceptance should prove more than one successful run. The system should support its intended use reliably and accurately in the agreed environment.
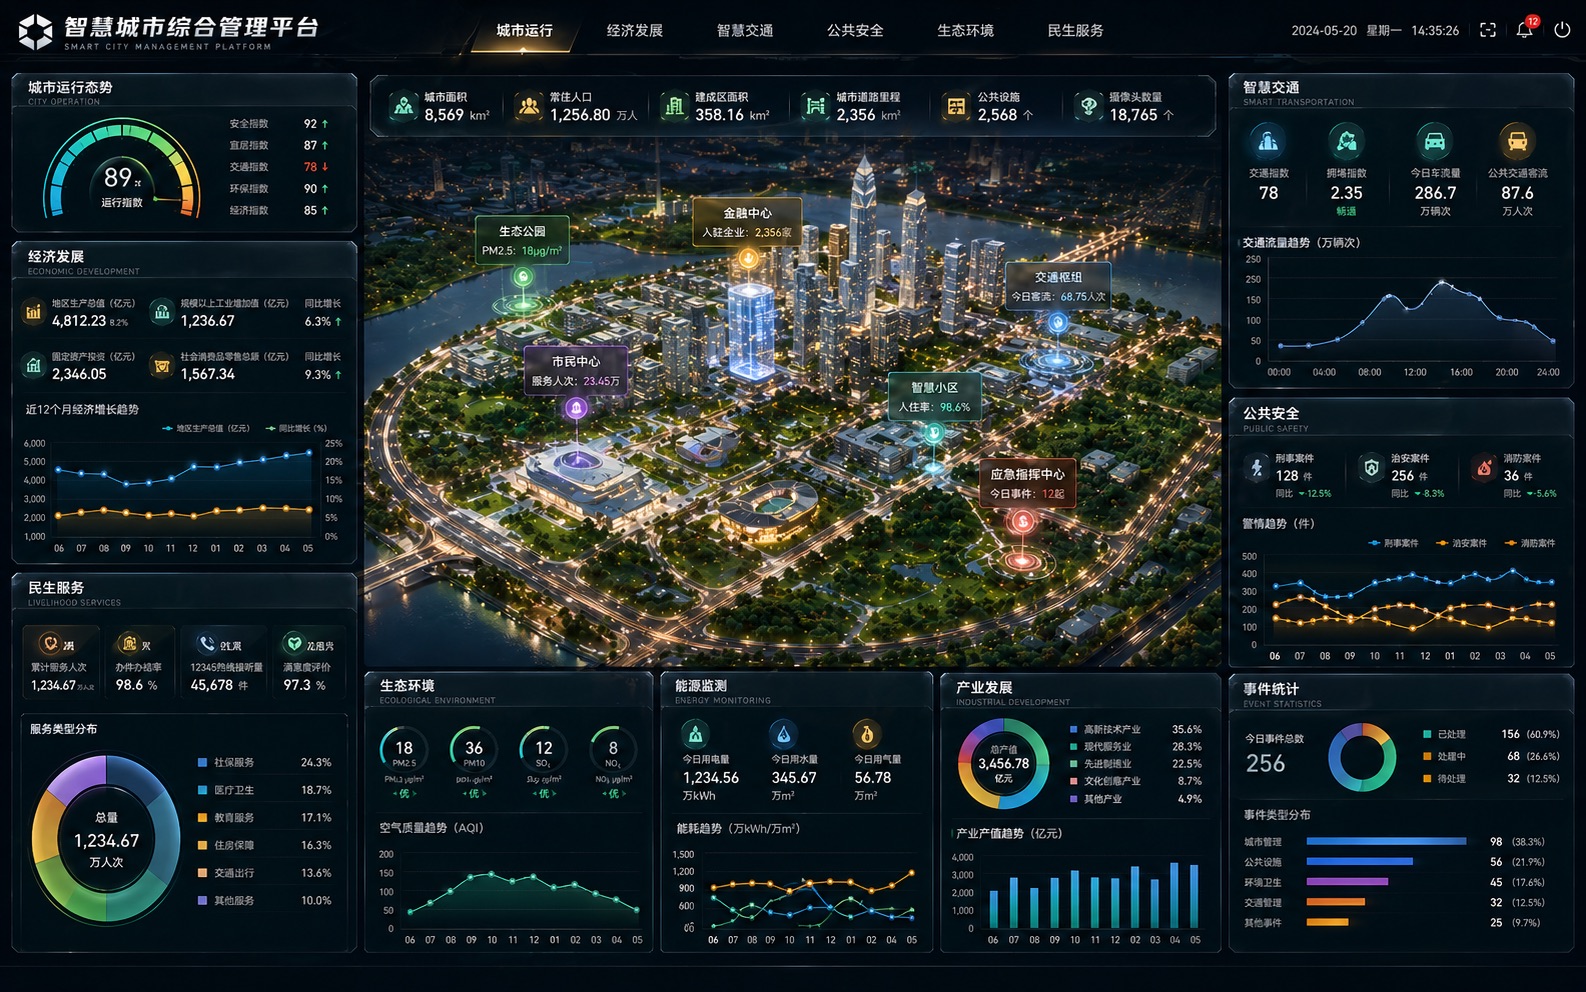
Presentation projects emphasize scene fidelity, guided narrative, camera switches and visual effects. Operations projects emphasize accurate points, fresh data, alarm location, video links, permissions and routine maintenance. Both require model and performance checks; operations also need acceptance of the business workflow. If one project serves both showroom and operations purposes, use separate checklists.
Check the contracted inventory of parks, buildings, floors, equipment and priority zones. Do not define fidelity simply as “high.” Specify levels for core and background zones, equipment recognition and viewing distance. Also check materials, signs, roads, floor relationships and whether model coordinates match point data.
Test zoom, rotation, walkthrough, camera reset, floor switching, zone location, device selection and detail panels. Each action needs clear feedback; model occlusion, tiny targets or disorienting camera jumps should not disrupt use. In a showroom, run the entire guided sequence and confirm autoplay does not conflict with manual control.
Sample equipment IDs, names, zones, floors and state fields from the final point list. Compare them with model locations and detail views. It is not enough that a point exists: the same device must have a consistent ID in lists, maps, models and alarm records so alarms do not point to the wrong asset.
Scroll the table horizontally to see every column.
| Acceptance item | What to check | Suggested evidence |
|---|---|---|
| Data source | Whether APIs, databases, IoT platform and field mappings agree. | API inventory and field mapping table. |
| Refresh interval | Whether live, minute-based or scheduled updates follow the agreement. | Timestamps and refresh logs. |
| Status mapping | Colors and rules for normal, offline, alarm and stopped states. | Simulated states or test data. |
| Error handling | Messages for disconnection, timeout, null values and denied access. | Error-scenario test records. |
If alarms are included, verify triggers, severity, time, location, device and detail content. Test locating the scene, opening video and entering the response page from an alarm. Video acceptance should check protocols, rights, concurrency, loading errors and camera locations. Operations projects should also record acknowledgement, assignment, treatment and closure.
Use the contracted PC, video wall or operations terminal, preferably on the production network and server. Record first-screen load, scene switching, device location, refresh and sustained operation. Both parties should agree targets based on model size, device configuration and network; “runs smoothly” is not a useful standalone criterion.
For contracted project source files, code and 3D models, first define what each category includes and whether together they form one version. “Project source files” may overlap code and model folders; three folder names alone do not prove completeness. The receiving team should know which entry opens the project, which model is used and how to obtain the approved running or presentation result.
Scroll the table horizontally to see the full comparison.
| Contracted asset | What the supplier should explain | How both parties should check |
|---|---|---|
| Project source files | Specific project or asset files, opening entry, tool versions, external dependencies and editable content agreed for retention. | Open the received copy, find agreed scenes or objects, check referenced files, save and reopen. |
| Code | Agreed module locations, version ID, dependencies, configuration and how to start or build the running version. | Prepare dependencies from the received copy, start or build it, compare with the delivered version and log errors or gaps. |
| 3D models | Model inventory, formats, usage locations, linked textures, object structure and editability agreed. | Load in the agreed tool or runtime; check objects, materials and spatial relationships. Test agreed edits where further editing is required. |
Record each link as “asset name → file location and version → project or module using it → result produced.” If a presentation uses an exported model, identify which delivered asset it came from. Do not make the receiver guess among several “final” versions.
Format affects editability. Khronos describes glTF as a runtime asset-delivery format, distinct from authoring formats that retain production information. Loading a glTF model alone does not prove the original modeling project was handed over. Check the necessary files and editability separately; see glTF Specification: Format Purpose.
Record separate conclusions for “opens,” “can be edited,” “builds” and “can be developed further.” A working demo on the supplier’s computer proves only that machine’s version works. Reproducing from the delivered copy can reveal missing assets, dependencies or instructions. Technical staff from both sides can work together; a business reviewer need not operate development tools alone.
Two omissions deserve separate attention. Git’s documentation says a Git bundle transfers refs and related commits, not working-tree content or repository-local configuration. For glTF or GLB models, check referenced external assets rather than assuming every texture is included from the file extension alone. See Official Git Bundle Documentation and Official glTF/GLB Specification.
The final record should state which file, in what environment, was used for which action and with what result—not just “materials received.” Check third-party assets, plugins and transfer rights against the project agreement. A successful representative edit does not prove every new feature or upgrade is straightforward.
For detailed repositories, dependencies, accounts and deployment, use the Software Source Code, Deployment and Account Handover Checklist. Check scenes, points, data and runtime quality against the Digital Twin Project Acceptance Checklist. File verification covers only the contracted assets and does not replace acceptance of other scope.
Also check the point list, API guide, deployment and account instructions, user documentation and acceptance record. Name who will maintain new devices, changed points, models, APIs and page changes. Daily ownership still needs a handover after files can be reproduced.
Scroll the table horizontally to see every column.
| Category | Core check |
|---|---|
| Scope | Are scenes, buildings, floors, equipment and pages complete? |
| Model quality | Fidelity levels, materials, labels, coordinates and occlusion. |
| Business links | Are points, data, alarms, video and response states consistent? |
| Runtime quality | Load, switching, refresh, errors and sustained operation. |
| Deployment and handover | Permissions, security, server, documents, accounts and maintenance boundaries. |
No. Operations projects also need correct links among points, live data, alarms, video, permissions and response workflows.
No. Fidelity should match viewing distance, interaction, device location and terminal performance. Less important areas can be simplified.
Test load, switching, walkthroughs, refresh and sustained operation on the agreed device, network and deployment. Record targets approved by both parties.
Prepare the final point list, API and test accounts, alarm rules, target device, deployment environment, reviewers and issue log.
Related services: Digital Twin Visualization Development. Continue reading: Digital Twin Project Preparation Checklist, Digital Twin Project Cost Factors, How Digital Twins Differ From 3D Visualization.